Decisive moment- Cindrella leaving behind her glass slipper
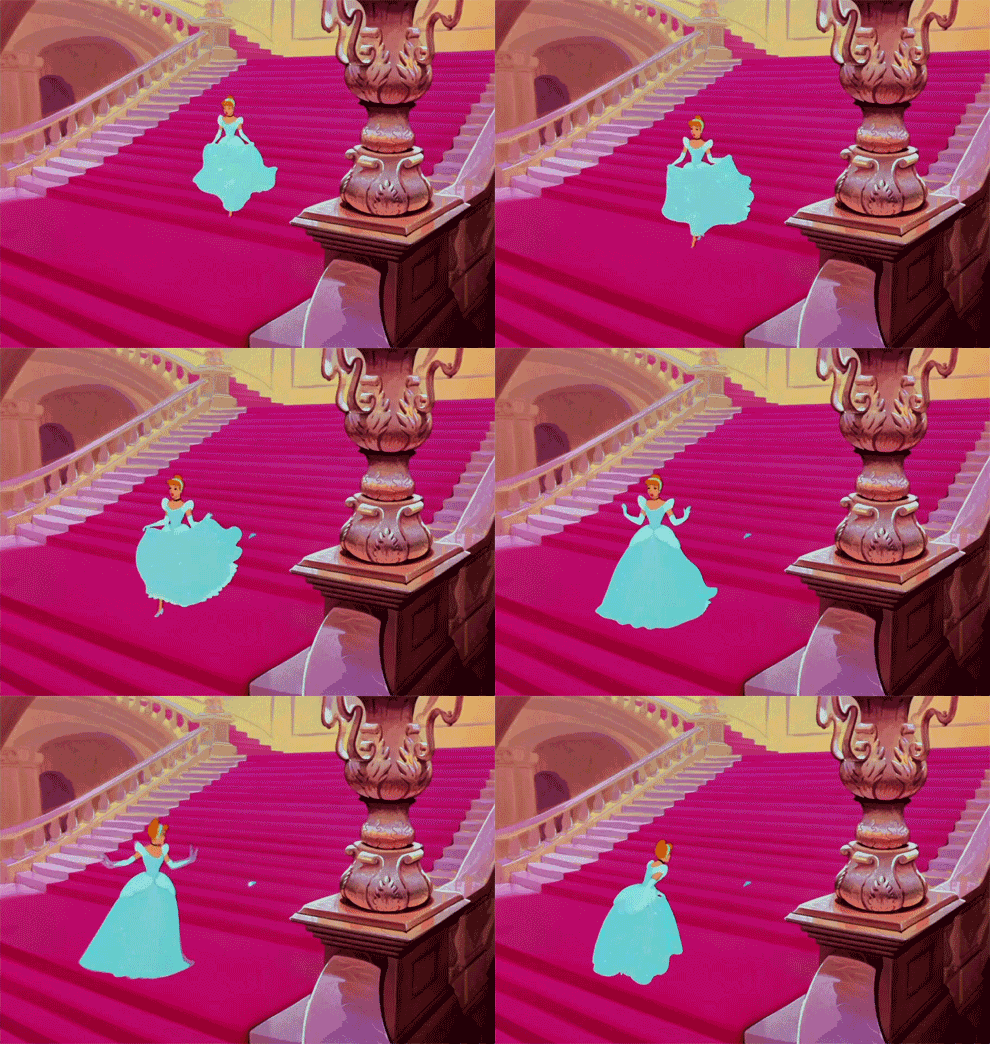
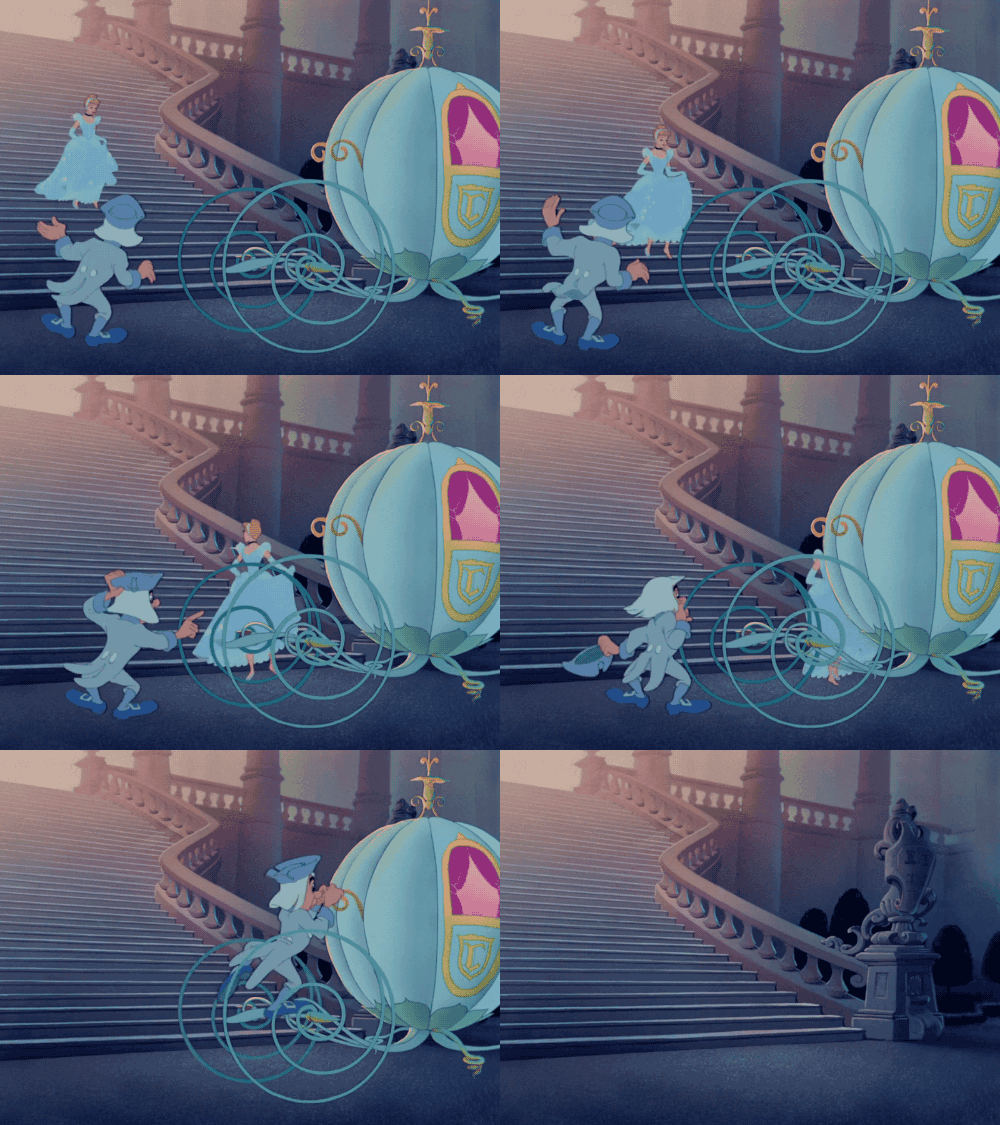
These two gifs are from the cindrella movie. These are the main two scenes that inspired me to recreate this moment.


I studied and observed different perspective angles of castles for reference. The Cindrella castle is an iconic part of the movie and So I wanted to include it in the background.


I started with the castle since I had figured out a perspective angle of it. I decided to then follow the perspective angle to make the whole background
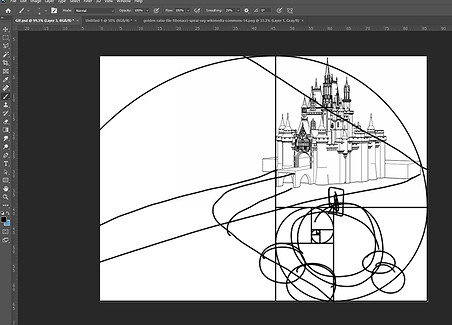

These are the rough 2 sketches I did for the Gif background, I tried to use the golden ratio and the perspective vanishing point to determine the composition.
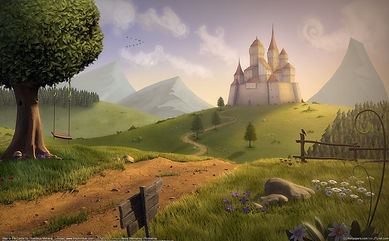
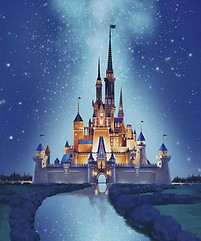

I used a combination of these three images to ultimately create my background. The first picture for its composition, the second for the color theme, and the third for the castle and the sky.

I changed the color and hue of the castle firstly to make it look like its night time, and so I followed the colors from the second picture above. The sky is an illustration to match the sky in the Disney photo shown above. After that I started doing the basic shames of the hill and mountains.

The first shapes seemed a little off, and so I decided to make the mountains at the back more triangular shape than a smooth rounder shape as I did before.

This is the base shapes completed with the base colors

I then added drop shadow and gradient overlay to each of the layers to show depth.
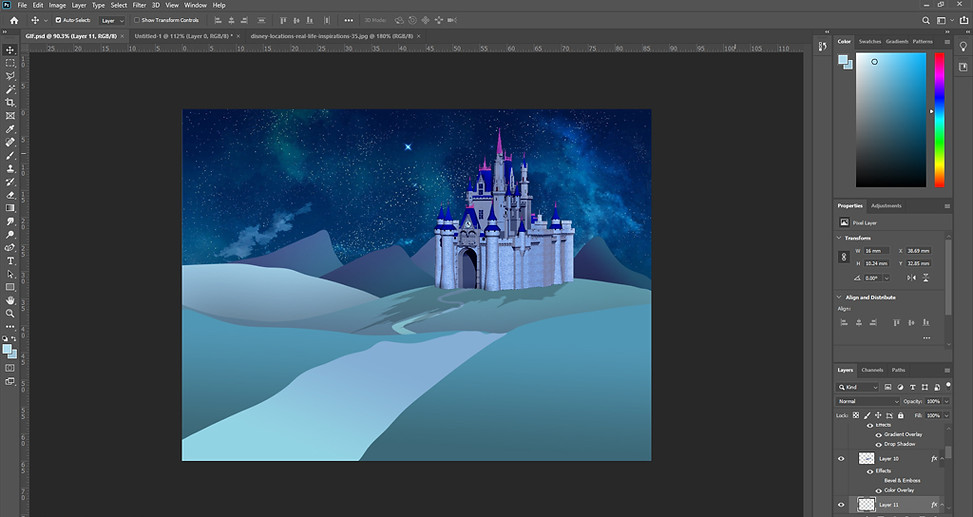
I added the road next, and also added a purple and teal gradient overlay to show the distance and perspective. I also added in a shadow to the castle and contoured it to show some highlights, this emphasizes more the direction of the said "moon light"

The landscpae was looking too plain so I added grass texture onto it. I did it but taking a HD quality grass photo from google, and masked it on each of the hills, the changed the layer to soft light to give that blended look. As for the Mountains in the back, I did the same using a rocky texture.

This is the landscape after the textures were added. Some trees and shadows were also added to separate the hills and also make the landscape look more fuller.

I added more details to the landscape like the rocks, flowers and their shadows. The main thing to anchor the background will be this carriage. This is a PNG from google, an almost exact copy of the original carriage from the movie.

This is the PNG from google which I layered on top of my landscape

This is a vector tree I drew directly on the photoshop file using the paint brush tool, which is why it is very rough looking. I also added a shadow of the tree.
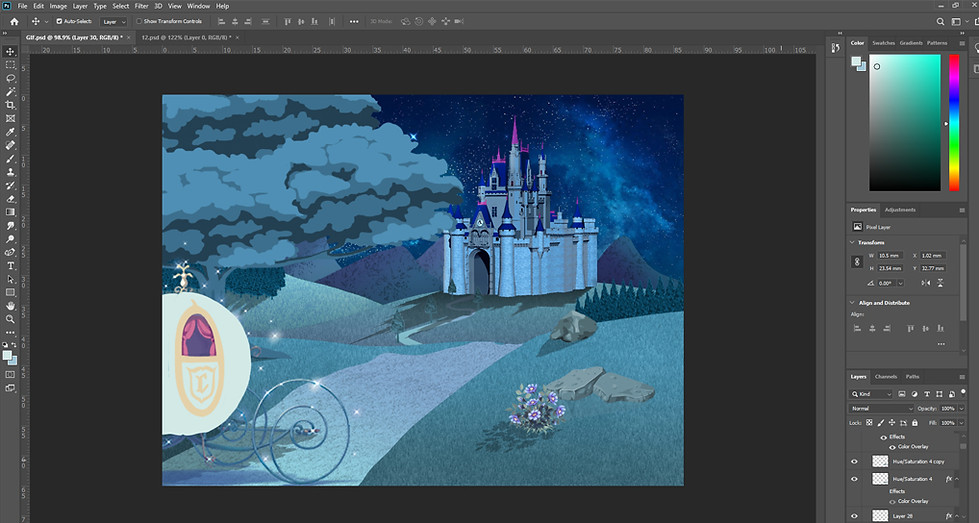
I decided to draw on top of the carriage because the graphic did not match and it looked pixelated compared to the rest of the layers.

For the door frame of the carriage and the C logo, I used the satin effect, Contour and the drop shadow to create this metallic effect.
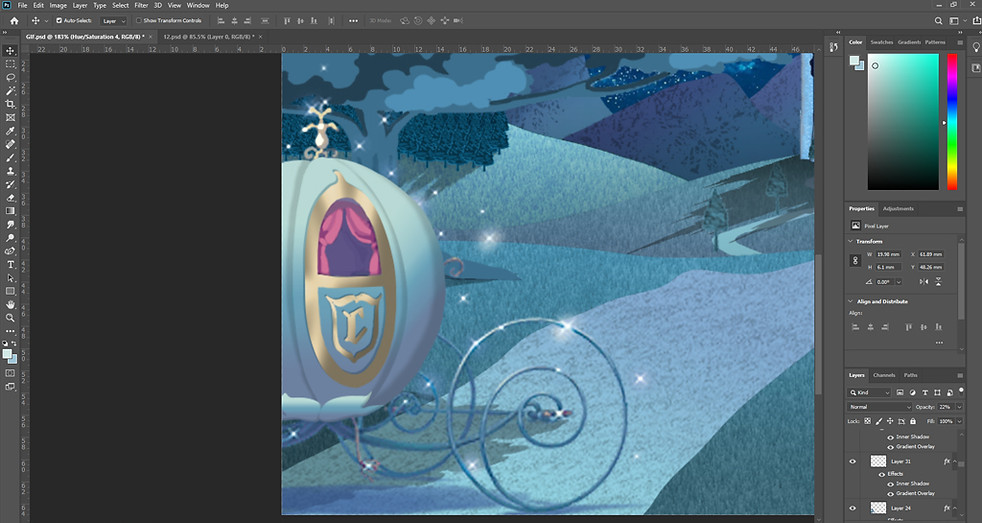
I used the same gradient overlay as the road on the carriage. Each of the quadrants and the bottom detail are different layers. I used drop shadow, gradient overlay, and inner shadow and contour tool to create a 3D effect.
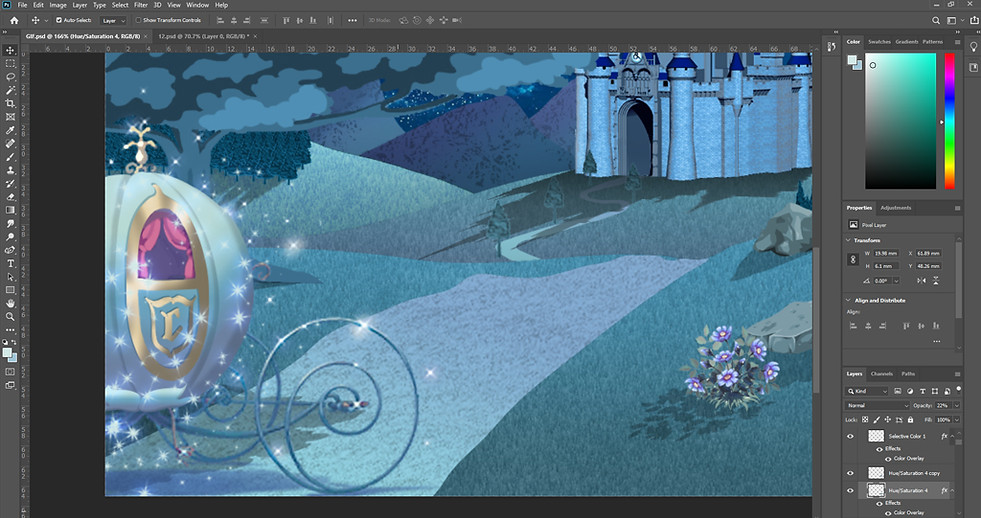
I completed the carriage by putting glowing sparkles on top of it, to match the original PNG image. I achieved this by using a sparkle brush in white color and then used the outer glow effect in purple for the glow effect.

The tree was starting to look like a cloud because of the way I had drawn it, and also because of its positioning. So I tried to give it more leafy texture to make it more obvious that it is a tree. I achieved this by using a vine shape brush in the same colors as the tree, And I just drew on top of the sharp color outline to blend them out more. The final result of this is shown above.

To blend in the hill and the road, I decided to put grass on the edge. I used a grass shape brush in the same color as the hill and drew on a different layer. I then skewed the grass layer to adjust it into a perspective shape to match the hill. I then erased the overlapping parts.
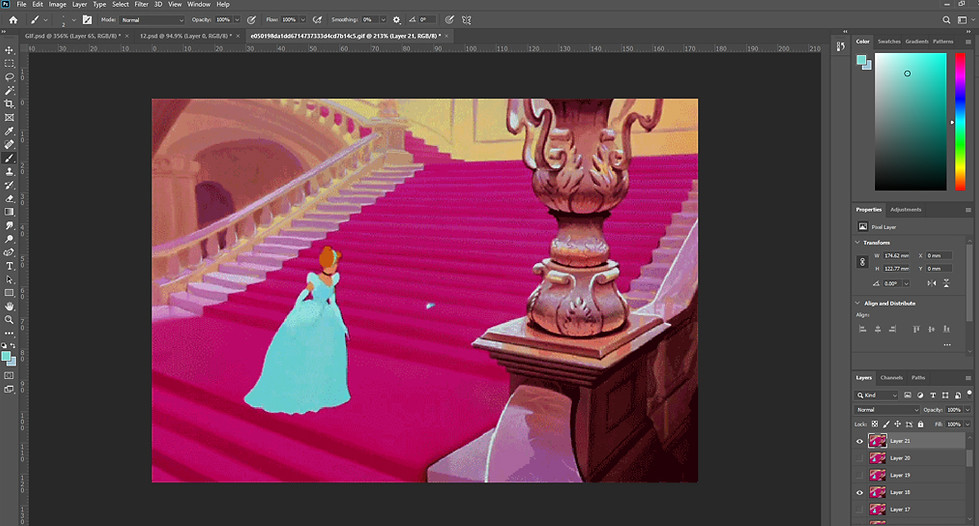
I had decided to use this gif for reference. Here Cindrella is running down the stairs, But it positioned on a hilly road, I can look like she is running on a flat road.
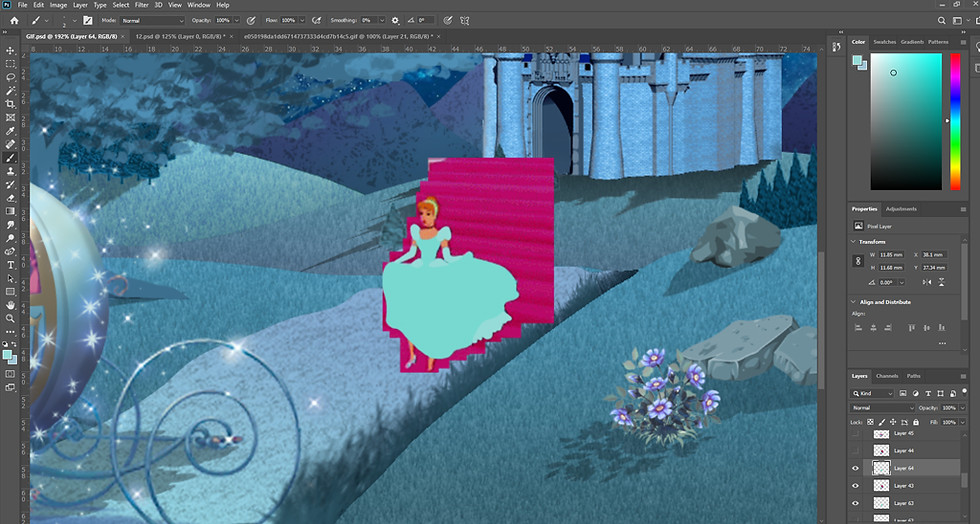
I positioned each frame accordingly on my landscape and colored on top of it using a brush tool. This is because the original pictures were pixelated and the colors were a little off and did not match the iconic "magical blue dress" we are used to seeing Cinderella in. So i decided to color it first according to the reference and later on change hues.

This is all the 21 layer of cinderella running completed.

As it can be seen, I changes the dress color by using the selective color tool, I made the Cyan color more vibrant and reduced the yellow tone in it. I also changed the shoe color to white, so that it is more visible against the blue road. The glitter on the dree was added strategically on each layer on Cinderella to show detail and shimmer as the layers change in the GIF. This was also done using a sparkle brush, and then erased parts of it to show depth.

The shadows were a tricky part. I duplicated each of the Cinderella figures and used black color overlay on them. Then changed the opacity to 20%, and skewed it to follow the shadow path of the others in the scene. And the tricky part was to match the directly to the previous shadow. I did this by keeping the previous shadow visible and the skewed the new shadow and tried to match the Width, length and direction of the previous one. The picture above shows two shadows overlapping every so slightly.

The shoe is the main thing in the GIF but it is so small that it is easy to miss it, so I added sparkles around it too, to bring focus into the part of the GIF.

In total there are 21 layers to create the GIF

I loaded the 21 layers in photoshop, used the timeline feature to make the Gif interval 1 second and endless loop. Then exported it as HTML and images.
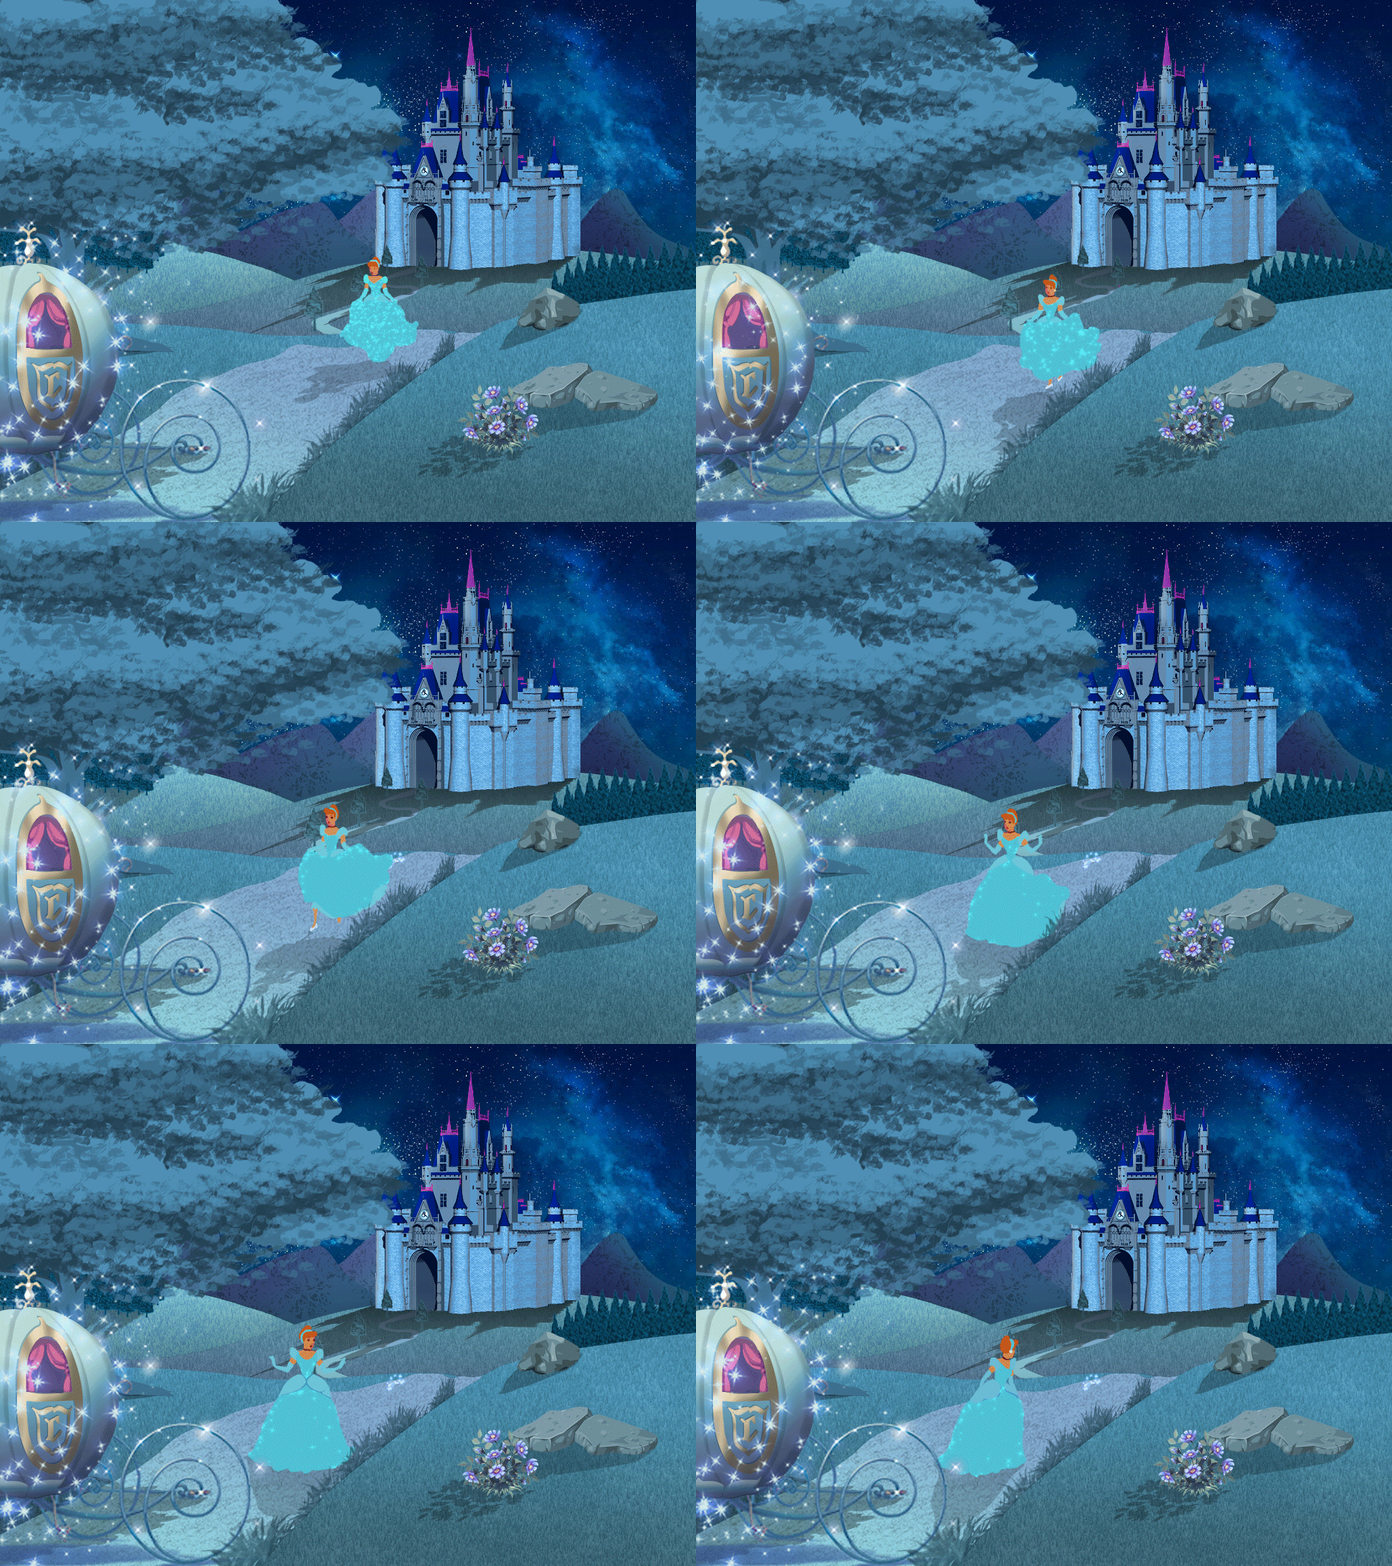
This was the outcome, but I was not happy with the way the sparkle of the carriage and the shoe was moving. So I decided to give it another try by using a different method.
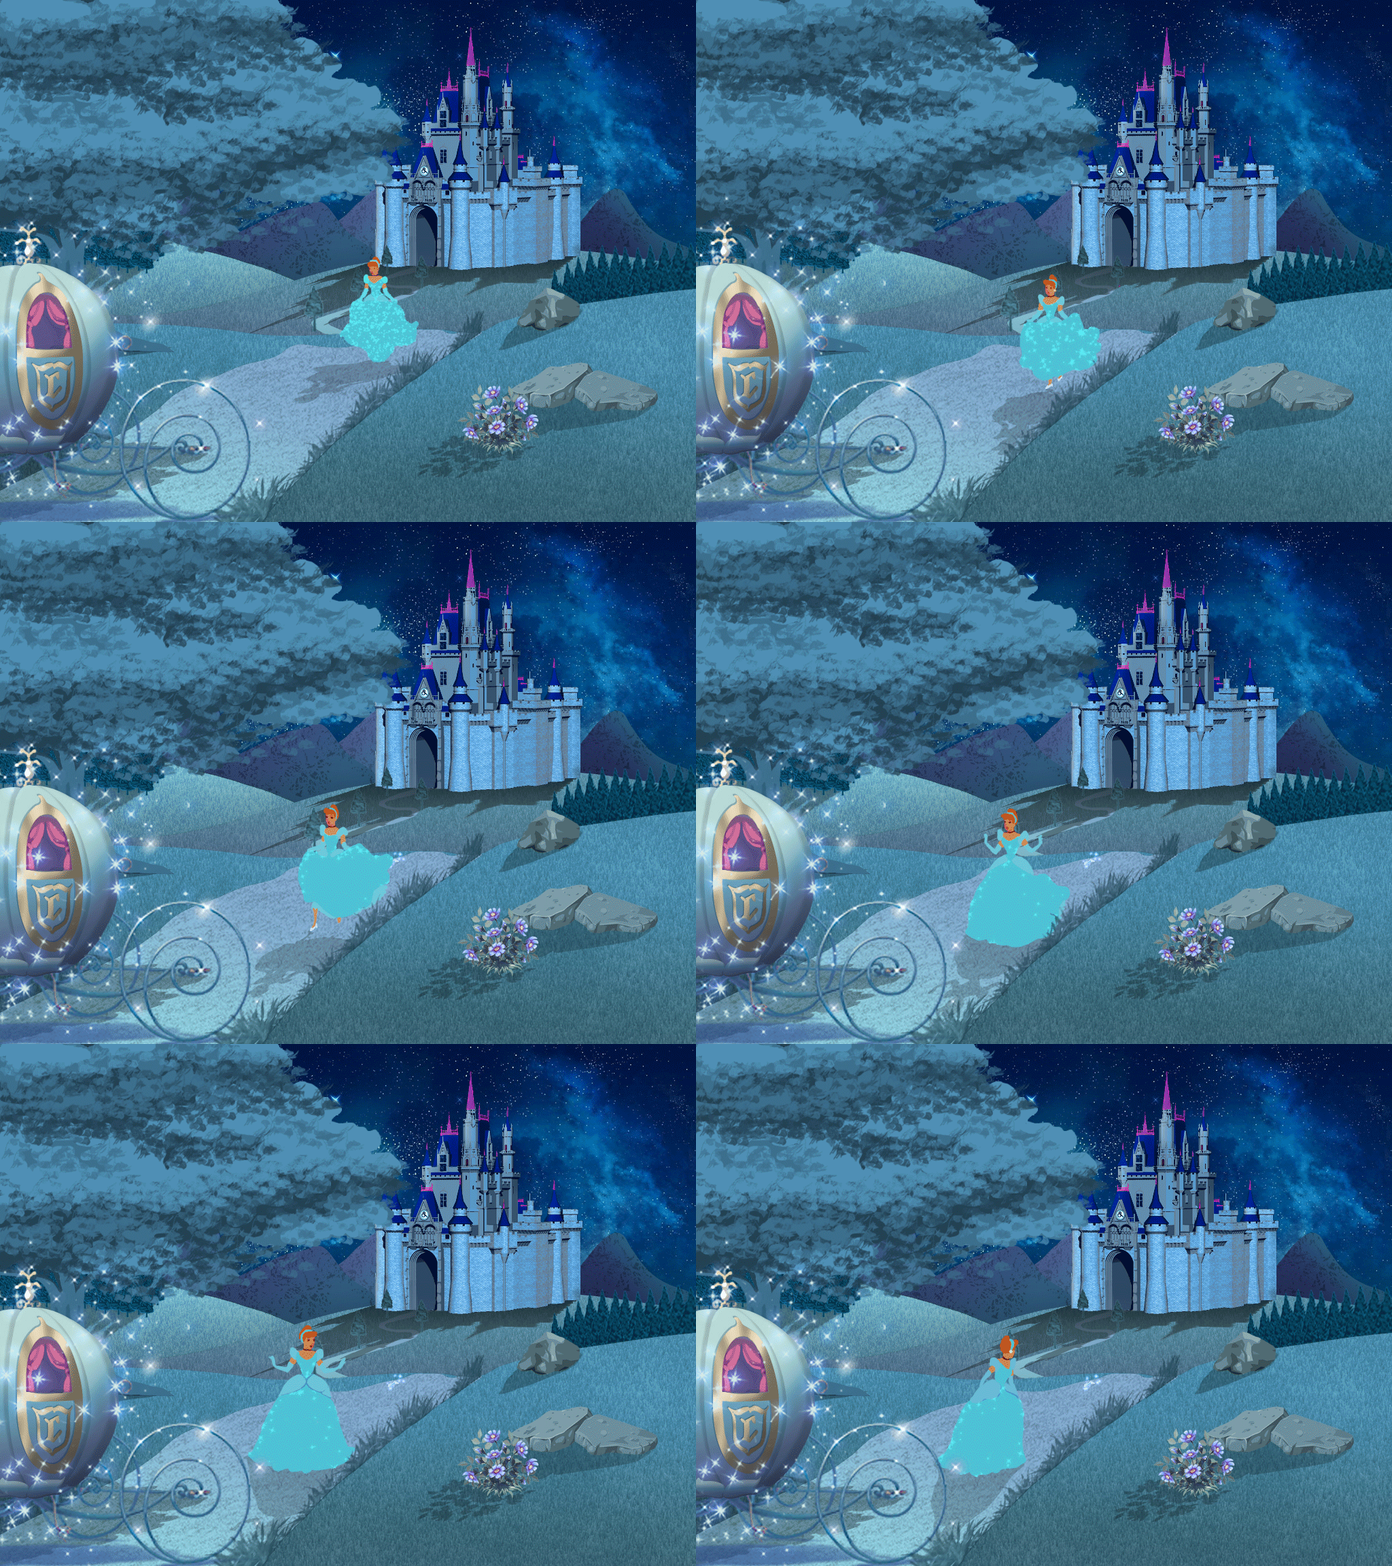
The sparkle movement was much more natural in this second try. This was my final outcome of the project 2.